
Installation and Requirement
HP Device Manager Installation
HP Device Manager
HP Device Manager is a server-based application that provides sophisticated centralized administration capabilities for Thin Client devices running HP software. Features of HP Device Manager include:
Centralized management of software configuration and upgrades.
A central server-based database.
The ability to easily create, store and update tasks.
The ability to access any file or the system registry in thin client devices.
XML-based task file.
Design tool for administrator to create tasks.
User-friendly graphical user interface.
Easy and powerfull repository management.
Support for WAN environment.
Windows CE device management.
Linux device management.
Easy to change Enhanced Write Filter setting for XPe Agent.
The ability to adjust the response time.
Communicate with Data Encryption and Data Compression between HP Management Server and HP Management Gateway.
Easy to set the work mode of Agent.
Overview
HP Device Manager is structured as a Console-Server-Gateway system.
HP Management
The HP Management Console is the user interface of HP Device Manager. Several HP Management Consoles can interact with an HP Management Server. The console allows system administrators to view details for each controlled device, organize device trees, create and maintain remote job definitions, and monitor tasks sent out to devices.
HP Management Server
The HP Management Server controls agents through the HP Management Gateway. Tasks stored asTask Templates on the server, can be sent to each agent through each agent’s respective gateway to perform commands as required.
HP Management Gateway
The HP Management Gateway servers as the link between devices and the HP Management Server. Device register with the gateway when they are started. The machine installed with the HP Management Gateway also normally contains the PXE Server installed by HP Device Manager.
Device Agent
The HP Management Agent is a software component installed on thin client devices so that HP Device Manager can interact with them. Agents are embedded into each HP operating system to enable Device Manager to manage devices out-of-the-box. Agents get tasks commands, execute the commands and report on their status.
Installing HP Device Manager
Components
HP Device Manager consists of four modules:
Management Console
The graphical application used by administrators to access the management system.
Management Server
The central server which consolidates and controls all management activities.
Management Gateway
The gateway which serves as the link between Agents and the Management Server.
Management Agent
Software installed on the client to enable device management
The Management Console, Management Server and Management Gateway may be installed on
Same machine, or on different machines separately.
System Requirements
Management Console
The Management Console can be installed on any number of machines. The following environment is required:
Operating System
Windows 2000 Professional (SP4)
Windows 2000 Server (SP4)
Windows XP Professional (SP2)
Windows Vista
Windows 2003 Server
Windows Server 2008
Third-party Software
Java Runtime : SUN java Runtime Environment Version 6.
Hardware
Pentium-lll or greater
512 MB RAM
256 MB free disk space
Management Server
The Management Server should be installed on a single machine. The following environment is required
Operating System
Windows 2000 Server (SP4)
Windows 2003 Server
Windows Server 2008
Third-party Software
Java Runtime : SUN Java Runtime Environment Version 6
DBMS- any of the following are supported : Microsoft SQL Server 2000 or 2005, Microsoft SQL Server 2008; PostgreSQL
Hardware
Pentium lll or greater
512 MB RAM
512 MB free disk space
Management Gateway
The Management Gateway may be installed on multiple machines. However, only on Gateway should be present on a subnet. The following environment is required:
Operating System
Windows 2000 Professional (SP4)
Windows 2000 Server (SP4)
Windows 2003 Server
Windows Server 2008
Hardware
Pentium-lll or greater
512 MB RAM
512 MB free disk space
Management Agent
The Management Agent should be installed on each thin-client device that will be managed by the system. The following environment is required:
Operating System
HP XPe
HP CE 6
HP Linux Debain
HP ThinConnect
HP ThinPro
HP ThinPro GT
NeoLinux 4.0.1
NeoLinux 4.0.1
NeoLinux 3
Neoware XP embedded 1.4.2 or later
Neoware CE 8.1
Maxspeed XPe
Maxspeed CE
Hardware
Thin-Client device supporting one of the operating system listed above with 2 MB free disk space
Additional Requirements
To support communication between the different components of the system the network must provide open access on certain ports. In addition to transfer large files between components, FTP server must be accessible by the system.
Recommended FTP Servers-Third-Party Software
Filezilla Server
Microsoft Internet Information Server (IIS)
Rhinosoft Serv-U FTP Server 4
SCO Unix OpenServer FTP Server
Network Requirements
The network should not contain any other running PXE servers. The network should permit free communication on ports used by HP Device Manger. HP Device Manager only supports IPv4 networks
A number of UDP and TCP ports are required for client/server communication. Given below are the standard ports required,
If we are using a Server behind a firewall, please add ports 1099 and 40002 to the exception ports in the firewall settings.
Standard Ports Required
Port Protocol Purpose
67 & 68 UDP PXE-Bootstrap
69 UDP TFTP (Trivial File Transfer Protocol)
4011 UDP DHCP Proxy Server (This is an alternative to ports 67 & 68 if those
Ports are not available)
20 & 21 TCP FTP (Used for the Repository)
5900 TCP VNC Server
5500 TCP VNC Viewer in Listen Mode
Custom HP Device Manager Ports Required
Receiver Port Sender Receiver Protocol Purpose
1099 Console Server TCP Console queries the RMI Registry.
40000 Server/Agent Gateway UDP Server/Agent polls Gateway.
40001 Gateway Agent TCP Gateway sends task to Agent
40002 Console Server TCP Console calls the remote objects on
Server by RMI
40003 Server/Agent Gateway TCP Server sends task to Gateway. Agent
Sends report to Gateway.
40005 Gateway Server TCP Gateway sends report to Server
40006 Server PostgreSQL TCP The default database PostgreSQL list
Listening port.
40008 Gateway Gateway TCP Gateway notifies Gateway Controller
Controller running in the same subnet
Installation Procedure
1. Run the Device Manger setup file. This installation’s introductory dialog box will appear.
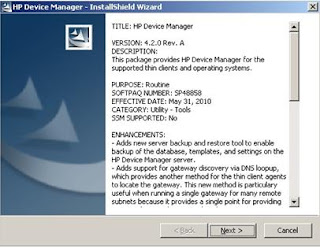
2. Select the I Accept the terms in the license agreement and click on next

3. Here shows the location to unpack the setup file.

4. Select the below given default location and click on Next
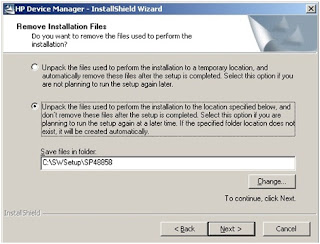
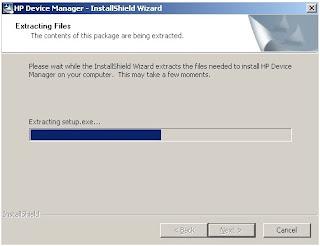
5. The unpack is started and it will soon start the installation.
6. See below HP Device Manager installation starts.

7. Click on Next
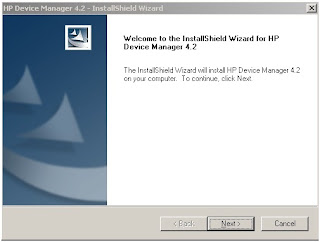
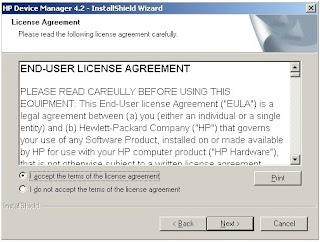
8. Select I accept the terms of the license agreement and click on next
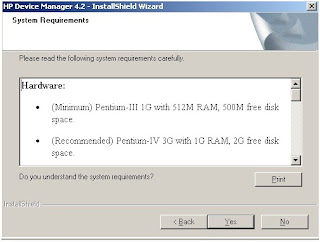
9. Check the Hardware requirement in below table, if your not meeting the hardware requirement install it in the good hardware.
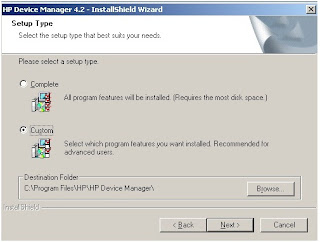
10. Select the Custom for installation.
11. Check the box for HPDM Console- if your installing and want to manage HPDM console
HPDM Server - if you want to install HPDM Server in the Same machine
HPDM Gateway-if you want to install Gateway server also in the same machine.
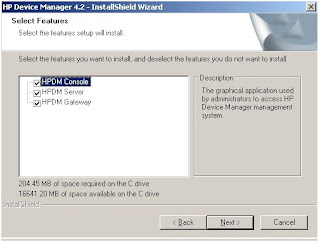
12. Now after select the above option click on Next and install.
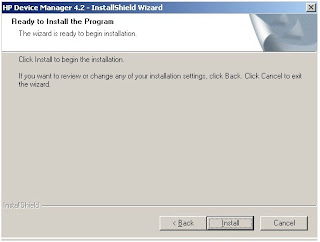
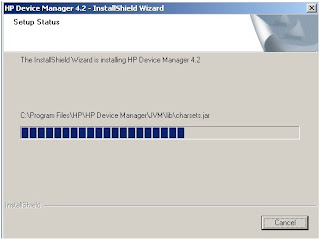
13. The Installation will proceeds.
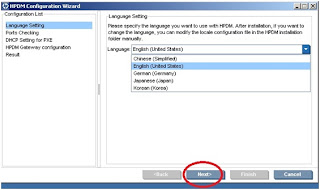
14. Select the Language type you want to install and click on Next
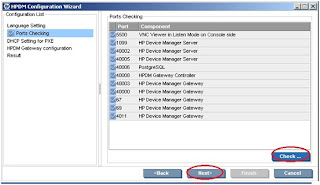
15. You can test the ports available by clicking on Check button, if you got any error than you need to check the require port is available or using by any other application. And click on Next
16. Select the first DHCP server if your DHCP server is not located on this machine.
Select the second DHCP server if your DHCP is located on this machine only.
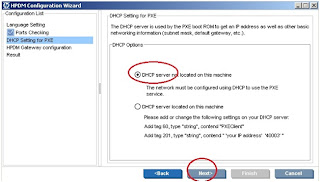
17. See the below given details if you want to edit any changes you can do it, but recommended to put it default only and click on Next
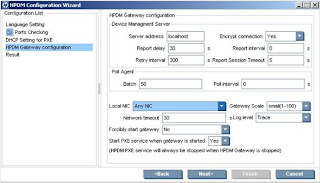
18. Now Click on Execute
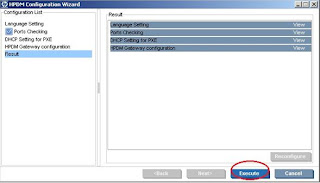
19. Click on finish to this installation and start the SQL installation.
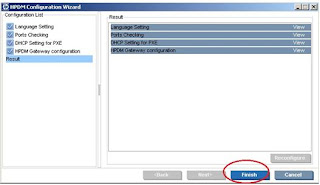
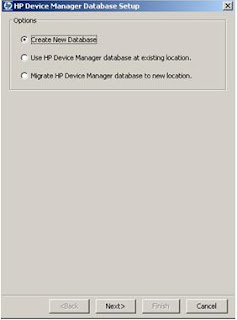
20. Select the Database type you want to install.
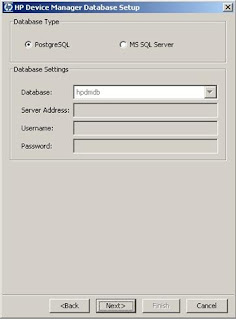
21. Select the type of SQL you want to install.
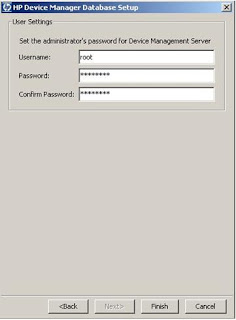
22. Give the Root password (Important : Please do remember this password)
23. The Administrative settings finished.
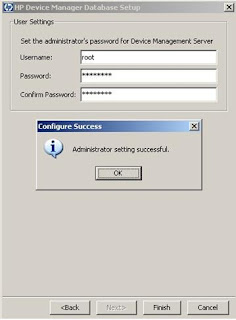
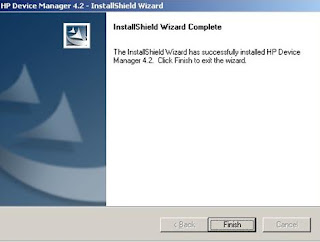
24. Click on Finish
25. HP Device Manager Icon will come on the desktop. Click on it.
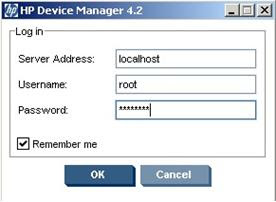
26. Enter the root and root password to login into the HP Device Management Console.
27. The HP Device Manager Console Looks like this.

Configuring DHCP Boot Options
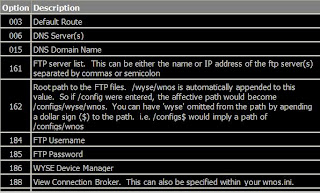
Now we will configure DHCP boot options , it is required to allow the required ports
1. Login into the DHCP server with Administrative Previleges.
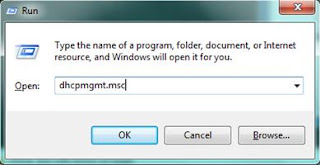
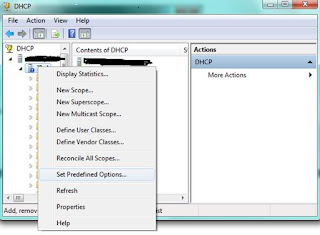
2. Right Click on the DHCP server and select the “Set Predefined Options” from the menu
3. Click on “ADD” button on the Predefined options and values window
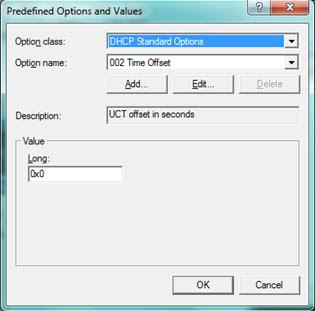
4. You will get the following window.
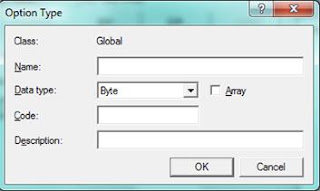
5. Here I have provided the following example for option ID 161 :
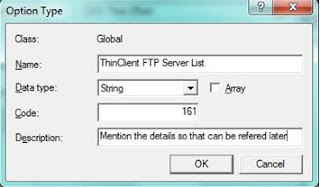
Click on OK
6. Repeat the Steps from 3rd to 5th for rest of the DHCP Options i.e. -161, 162 ,184, 185, 186 and 188 on your DHCP Server
a) In the Name field mention the Brief description of the new Option Value.
b) In Data Type change the value from ‘Byte’ to ‘Sting’
c) Enter the DHCP Option in the field i.e. (161)
d) Provide the brief description in the ‘Description’ field as its help you to refer in future, for that this value added.

Creating the DHCP Scope for ThinClient
We have to create the DHCP Scope and assign the relevant values to it:
1.From the DHCP snap-in , right click on the Hostname of DHCP server and select ‘New Scope’.
2. You will see the wizard for creating New Scope ,Click on Next
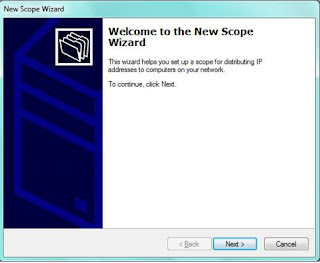
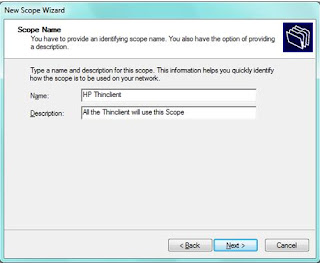
3. Provide a name and description for your new scope and click on Next
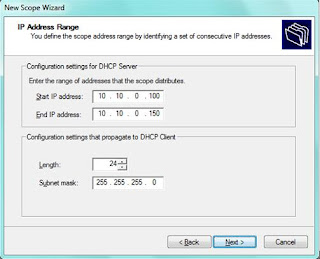
4. Now provide the relevant IP block and subnet information for the scope and click on Next to proceed
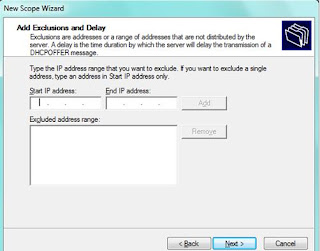
5. Enter if any Exclusions for the Scope and click on Next
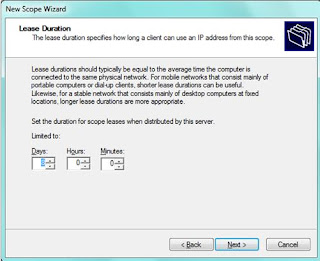
6. Enter the Desired lease time and click on ‘Next’
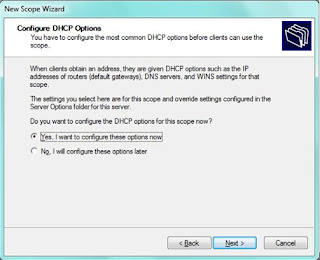
7. Select “Yes I want to configure these options now” value and click on Next
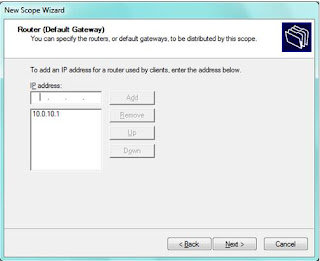
8. Add your default Gateway and click on Next
9. Provide you DNS name and click on Next
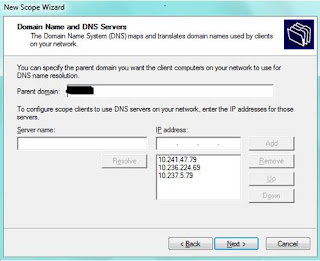
10. Provide the WINS server and Click ‘Next’
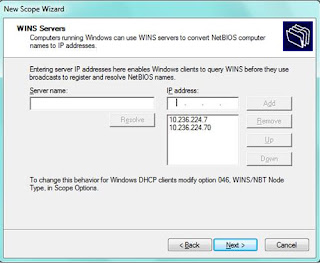
11. Select ‘Yes I want to activate this scope now’ option , click on Next and Finish

hello
ReplyDeletestart widows postgrepSQL service :
FATAL: no pg_hba.conf entry for host "::1", user "postgres", database "postgres", SSL off
Any idea ?
Laura
Laura it seems there is already PostgrepSql running in the system where you are installing HP Device Manager.
ReplyDeletePlz Check it.
Thanks Dude, i have installed successfully , i followed step by step instruction given by you.It really worked for me. Great work .
ReplyDeleteThanks again.
Thanks Raju, this made my installation so much easier.
ReplyDeleteGreatly appreciated.
thanks dear, great job very easy way you explain it makes very easy to me installation.
ReplyDeletePCEF on the Client Device
thanks i had install Hp device manager succesfuly but how to install software to Tc Client.
ReplyDeleteThe perfect and unique contents .thanks for share.
ReplyDeleteWindows Thin Client & RDP Thin Client
Great Post very helpful for us.Thanks for sharing!
ReplyDeletePABX Installations in Dubai
PABX services in Dubai
IP PABX Systems Dubai
Panasonic PBX phone System in Dubai